Alienware AW3225DM — 32" Curved QHD Gaming Monitor
Built for gamers who demand next-level performance.
Hast du ein Konto?
Logge dich ein, damit es beim Checkout schneller geht.

US-Kunden Keine zusätzlichen Gebühren Weiterlesen
$0.00 USD
Flexible payments with Affirm – choose monthly at checkout!
3D Secure checkout enabled – extra protection for every payment.
Buy now, Pay later


Buy now, pay later.


Already placed an order? You can check your delivery status at any time using your tracking number. Fast, easy, and secure.
Go to Tracking PortalOne annoying thing about this monitor is the quality of the stand. I also have a curved Neo G7 monitor, which I’ve been using for two years without issue. The build quality on the G7 is much better than this newer G55C. I placed them side-by-side (picture) on my desk and the monitors look very similar from the front, very different from the back. The stand on this G55C monitor is not height adjustable, it does not turn sideways horizontally, and you can’t rotate the monitor vertically 360. These are all things you can do on the Neo G7 monitor. The only movement available on the thin plastic tripod stand of the G55C monitor is you can tilt it forward and backward. It came very stiff, and I had to manually loosen the hinge before I could tilt the monitor. The monitor itself is a 2K (1440p) VA panel with HDR and 3 total ports: (1) headphones; (2) DisplayPort; and (3) HDMI. No other ports except for the service-only port (USB 2.0). It includes a DisplayPort cable, power cable, but it does not include an HDMI cable. There are no internal speakers. The max refresh rate when you enable HDR drops to 60 Hz (HDR-10 requires 10-bit color, which creates a bandwidth limitation on this monitor). Should be obvious, but since this is curved, be sure to never place this monitor flat on the floor/desk without center support otherwise it will likely fracture the screen down the center.
Things I like about this monitor: 1- Budget friendly gaming or content monitor 2- High 165Hz refresh rate (Note: limited to 60 Hz if HDR is enabled). 3- Universal 75x75mm VESA mount option 4- Very light and highly portable monitor. 5- No flickering when connected via 4K HDMI or DisplayPort cables (but flickering with thunderbolt (PC) to DisplayPort (monitor)). 6- No pixel issues
Things I don’t like about this monitor: 1- No USB passthrough or thunderbolt connectivity. (The USB/A 2.0 port is for service only). 2- Related, no daisy chaining option 3- No auto-dimming 4- Max 2K (1440p) 5- Thin plastic build quality 6- Extremely limited movement: tilt only.
In summary, this is a highly affordable budget quality gaming or content monitor. I am using it with a quadruple monitor setup. I added it to what was previously a triple 4K monitor setup, and there’s some distortion moving between screens because this monitor tops at 2K but is surrounded by monitors at 4K. I am not a gamer. I cannot comment on that aspect. No flickering and the brightness is great.
Currently running XMP2 @ 6200 MT/s on an Asus ROG Strix Z790-E II, and it's as stable as can be. Actually replaced 6800MT/s CL34 T-Force with these and getting better performance. They don't run super cool being 1.35v but they don't get very hot either. Don't think I've seen them rise above 65c which is more than acceptable.
All in all these are exceptional DIMM's with some headroom.
I've used several label maker machines in the past, but the Rechargeable Label Maker Machine with Tape, PO Portable Bluetooth Mini Label Printer has truly impressed me. I've been using it for a few days now—and many times already—and it's been nothing but reliable.
The quality is excellent, and it's incredibly easy to use. Setup was fast, and connecting via Bluetooth is smooth and hassle-free. The compact design makes it perfect for home, office, or even school organization. Plus, the built-in rechargeable battery is super convenient—no more worrying about constantly replacing batteries.
So far, this is the best label maker I've owned, and I highly recommend it to anyone looking for a portable and efficient labeling solution!
These stands work great if your tv is bigger than your tv stand. Makes it footprint smaller also elevating it. Way better than stock feet. I have all 3 of my tvs on them. I ziptie the back to secure it. I did not understand the locking screw. Zipties make me feel more comfortable. Great quality stand. Heavy glass... 50 in, 43 and a 40 in all using the stand.
Good quality and works as described. Feels durable, but shipping took longer than expected.
This is a terrific product! The item arrived early, it looks to be in perfect condition and I think that I received an incredible and limited run item. As a fan of the Fallout Franchise, I find this to be an excellent collector’s item and a wonderful addition to my collection.
I got what I wanted 👍 Hopefully it's good enough CPU for 1080p-1440p 60FPS gaming after watching video reviews of it…
This is a beast CPU. I have a small PC case intended for aesthetics purposes, so I can't use 360-420 mm aio. Had to use a 240mm Nzxt. It definitely can handle it. Come on, basic wise I basically would advice to cut LL-12 up to at least 125w c, in my case 60w. Performance loss in usual workloads is not significant, but the noise/temperature are low. Standby temp ~40c. Has integrated graphics. Very fast & powerful.
Läuft wie geschmiert mit XMP-Profil
I love how easy this little label maker is to use! It connected to my phone via Bluetooth super fast, and I was printing labels within minutes. The app is simple, and the labels come out clear and neat. It’s compact, rechargeable, and good for organizing stuff around the house.
The shipment was fast, and the package was well-packaged. The description of the item I received matched exactly what I had ordered. If another product I’m interested in is sold by this seller, I’ll definitely purchase from them again.
People rant on this but idk what they buy, it blows AMD comparable out of the water everyone kept telling me get a 7900x3d I did and it was okay but this 14700k is no joke. I have no bottlenecks my Rtx 4090FTW3 handled at a 4k 120 frame rate on ultra ray tracing settings with F1-23, in 4k ultra graphic with 3x dlss in 8-10 ai cars. It runs like a champ. I had one from launch and only got rid of it because I thought I had an issue with it overheating but it was my aio needed cleaning. I was reading some parts heat bad or it gets bottlenecked after 2 years from heat degradation not necessarily this 14700k. I dont know if Intel is throttling but I know they back track a lot had some self deteriation issue but this one doesn't seem to. I've ran diagnostics every week I've gotten it and it's still performing at 100 percent. Like I said this is not amd fan boyism but when you get it DO NOT be cheap with the aio get the best aio for this thing. There's not a single CPU in this price bracket that does what this one does it's an absolute beast
For the price, this keyboard is a solid deal. Bluetooth and 2.4G connection work well, and the 68-key layout is great for typing. The mechanical switches feel nice, but the build quality feels a bit cheap. Still, for what you pay, it gets the job done.
Easy install. Used all 3 thermal pads for a tight fit. Instant improvement to performance in the PS5.
Welcome to our store
Start Earning Today!
Looking to spend your eggs? Redeem 250 for 15% off your order.

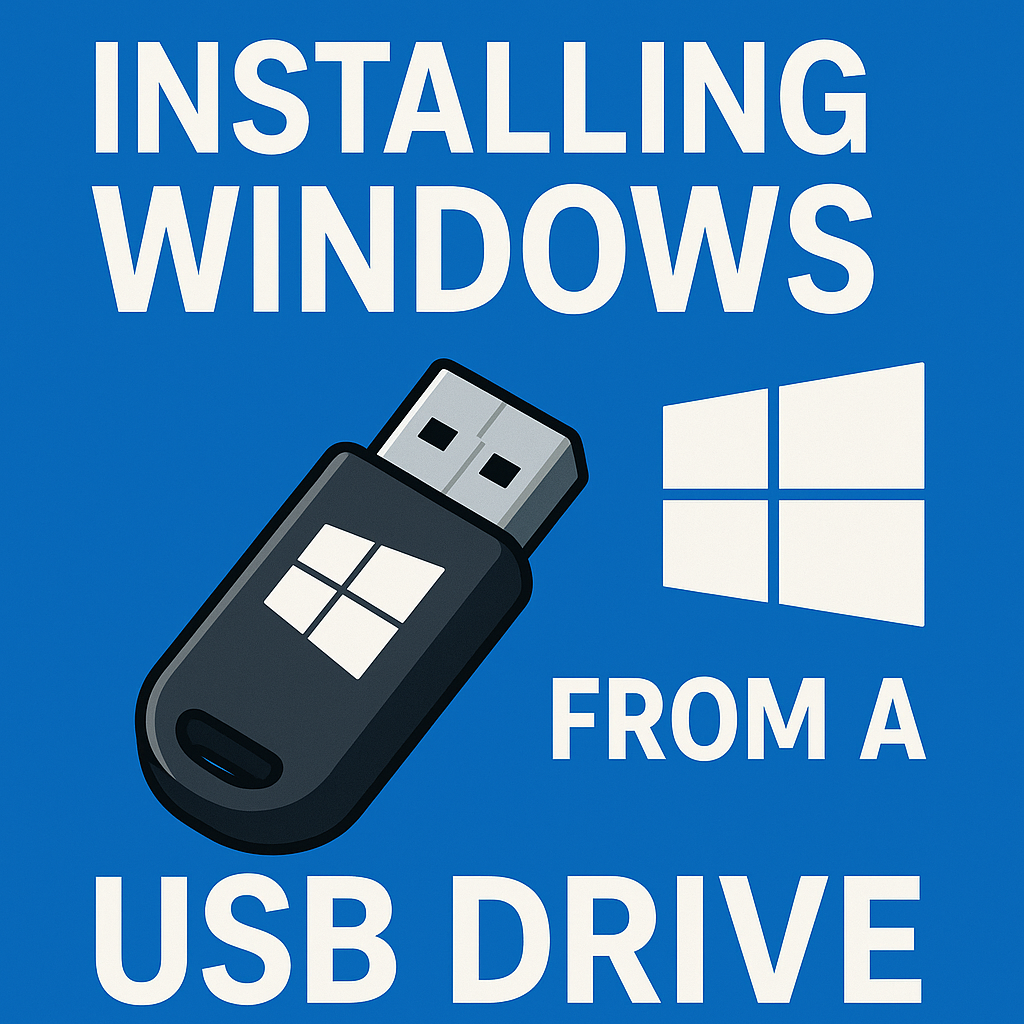
Let’s face it — installing Windows used to feel like a task reserved for IT pros or that one tech-savvy friend we all have on speed dial. But thanks to bootable USB sticks, the process has become surprisingly simple. Whether you're upgrading, doing a clean install, or rescuing a struggling PC, here’s a real-world guide to installing Windows 10 or 11 from a USB drive — no tech degree required.
Gone are the days of fumbling with DVDs or praying your ancient optical drive still works. A USB stick is faster, more reliable, and pretty much standard in today’s world of laptops and custom PCs.
Plus, with Windows 11’s stricter system requirements, doing a fresh install from USB gives you better control over compatibility checks, especially if you're working with older hardware.
A USB stick with at least 8GB of storage
A working PC with internet access
Microsoft’s Media Creation Tool (or the ISO file)
Patience and coffee (optional, but highly recommended)
Download the Media Creation Tool
Head to Microsoft’s official website and grab the Media Creation Tool for Windows 10 or 11. It’s free, lightweight, and super straightforward.
Plug in Your USB Stick
Anything on it will be wiped — so back up those vacation photos or random downloads first.
Run the Tool
Launch the Media Creation Tool, accept the license terms, and select “Create installation media for another PC.”
Choose Your Version
Pick the language, edition (usually Windows 10/11 Home or Pro), and architecture (64-bit is the go-to these days).
Select “USB flash drive”
The tool will detect your USB stick. Confirm it’s the right one, then let it work its magic. This usually takes about 10–15 minutes, depending on your internet speed.
Plug the USB into the target PC
Make sure the computer is completely off before plugging it in.
Access the Boot Menu
Power on the computer and press the right key to access the boot menu — it’s usually one of these:
F12 (Dell, Lenovo)
ESC or F9 (HP)
F11 or F8 (ASUS, MSI)
If you see the manufacturer’s logo and Windows starts booting normally, you were probably too slow — try again and press the key repeatedly right after hitting the power button.
Select the USB Drive
Once you're in the boot menu, choose the USB stick from the list.
Windows Setup Begins
You’ll see a Windows logo, then a screen asking for your language, time, and keyboard preferences. Click Next, then Install Now.
Have your product key ready. If you’re reinstalling, Windows usually reactivates automatically. If not, enter your license key when prompted.
Choose “Custom Install” if you want a fresh start (this will wipe everything).
Drivers? No problem. Windows 10 and 11 are excellent at grabbing the right drivers automatically after installation.
After about 15–30 minutes (and a few restarts), you’ll be greeted with a fresh Windows desktop. From there, just sign in, connect to Wi-Fi, and start customizing to your heart’s content.
Installing Windows via USB isn’t just for the pros anymore — it’s fast, efficient, and totally doable for everyday users. And honestly, there’s something kind of satisfying about building your setup from scratch.
Got questions or run into hiccups? Drop them in the comments — we’ve been there too.
Check out our Product News and Technical Insights, or subscribe to our RSS Feed
© 2023 - 2025 Swiftwintek LLC – All rights reserved
Registered-Agent Address: 262 Chapman Rd, Ste 240, Newark DE 19702
Registered in Delaware • File No. 10218055verified U.S. Registered Business
